Install an App in Business Central
Follow these steps to install NIC Systems apps in Business Central if you didn’t install them when assigning licenses.
Prerequisites
- Appropriate number of licenses have been purchased for the app
Install an app
In your web browser, navigate to the Microsoft 365 admin center.
From the Microsoft 365 admin center, log in with your Microsoft work or school account.
You must have the appropriate permissions to access this site. Please see your system administrator if you need assistance.
From the Navigation menu, select Billing > Licenses.
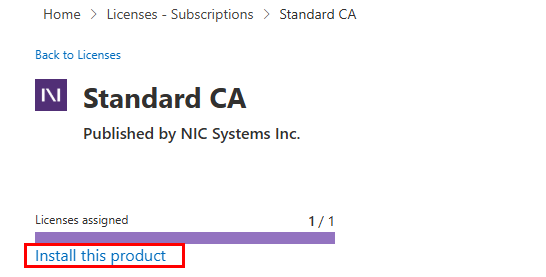
On the Licenses screen, click the app name you want to install.
Typically, the licenses show up quickly, but it could take up to an hour to appear from the time they were purchased.
Select the Install this product link.
If prompted, select the environment in which you want to install the app.
Select Install.
The installation may take a few minutes to complete.
After the installation is complete, any users currently logged in should sign out and then log back in to access the new app.