Purchase an App
These steps explain how to purchase a NIC Systems app from Microsoft AppSource.
Note
FREE TRIAL: Every purchase receives a 30-day free trial. If you only want the free trial, make sure that you turn off auto-renew in the Price + billing section. Even for the free trial, you will still need to enter a valid credit card number.
Prerequisites
- Microsoft work or school account
- Valid credit card in your country or region
Purchase an app
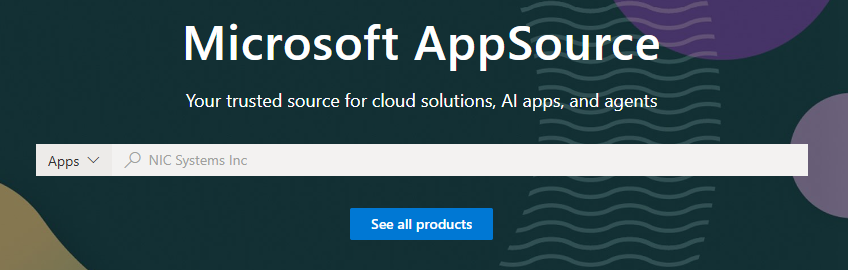
In your web browser, navigate to the AppSource website.
From AppSource, if you are not signed in, complete the following steps:
-
Select the Sign in button.
-
Enter the email address of the work or school account you will use to acquire apps.
-
Select Sign in.
-
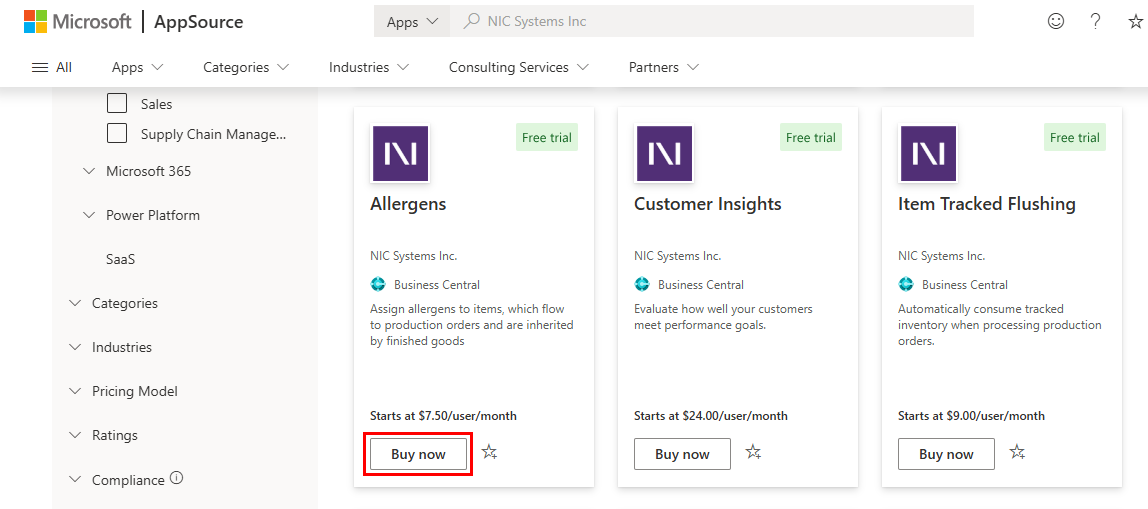
In the Search AppSource field, enter NIC Systems Inc, and press Enter.
Click Buy now for paid apps, or Get it now for free apps.
Note
Paid apps have a free 30-day trial.
If this is your first purchase in AppSource, select your billing country or region.
The billing country cannot be changed during checkout.
If the app has multiple plans, select the plan that suits your needs.
If the app only has one plan, it will be automatically selected.
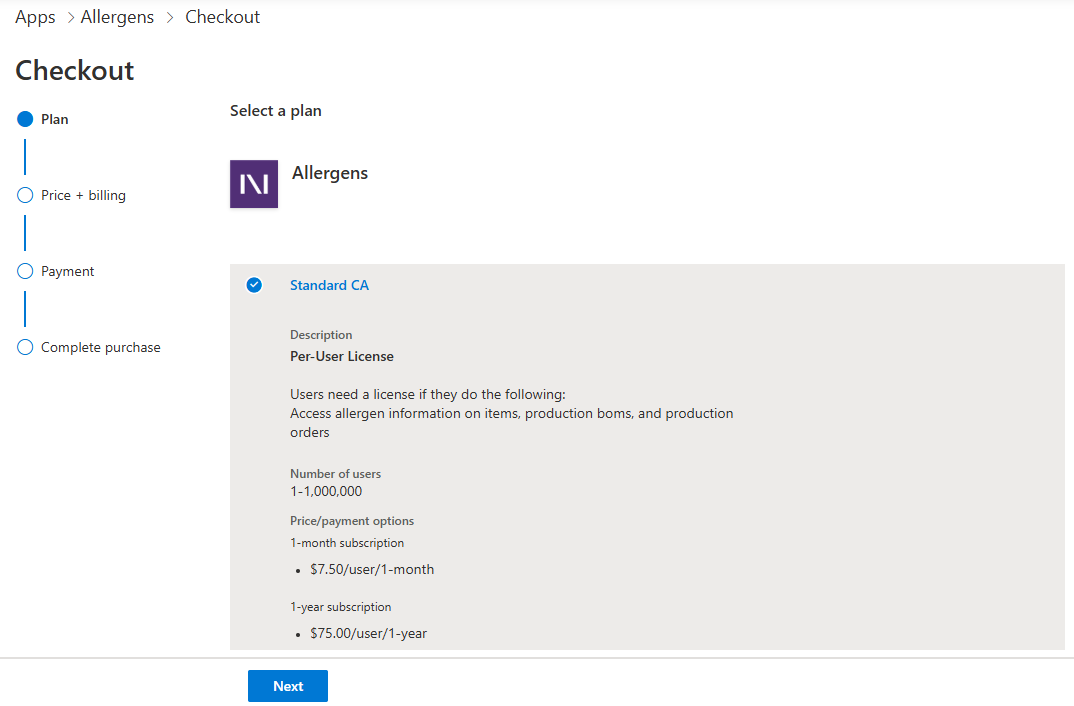
Select Next.
In the Price + billing section, populate the following fields:
Important
If you are only interested in the free trial, turn off auto-renew.
Field Description Billing term Choose if you want to be billed monthly or yearly for the app. Auto-renew Turn the toggle on if you want to be automatically billed at the end of your billing term.
When auto-renew is turned off, the subscription will terminate at the end of billing term. When turned on, the subscription will renew at the valid price.
You will not billed until the end of your 30-day trial.
You can turn on auto-renew during your free trial if you decide you want to keep using the app.Number of users Enter how many licenses you will need.
Each user who needs to use the app features will need a license.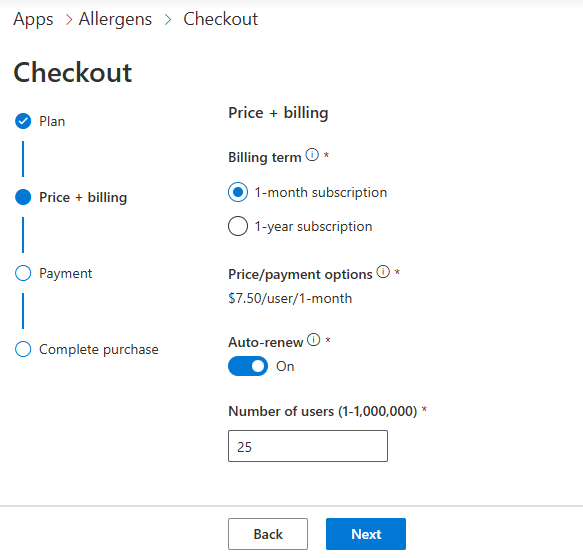
Select Next.
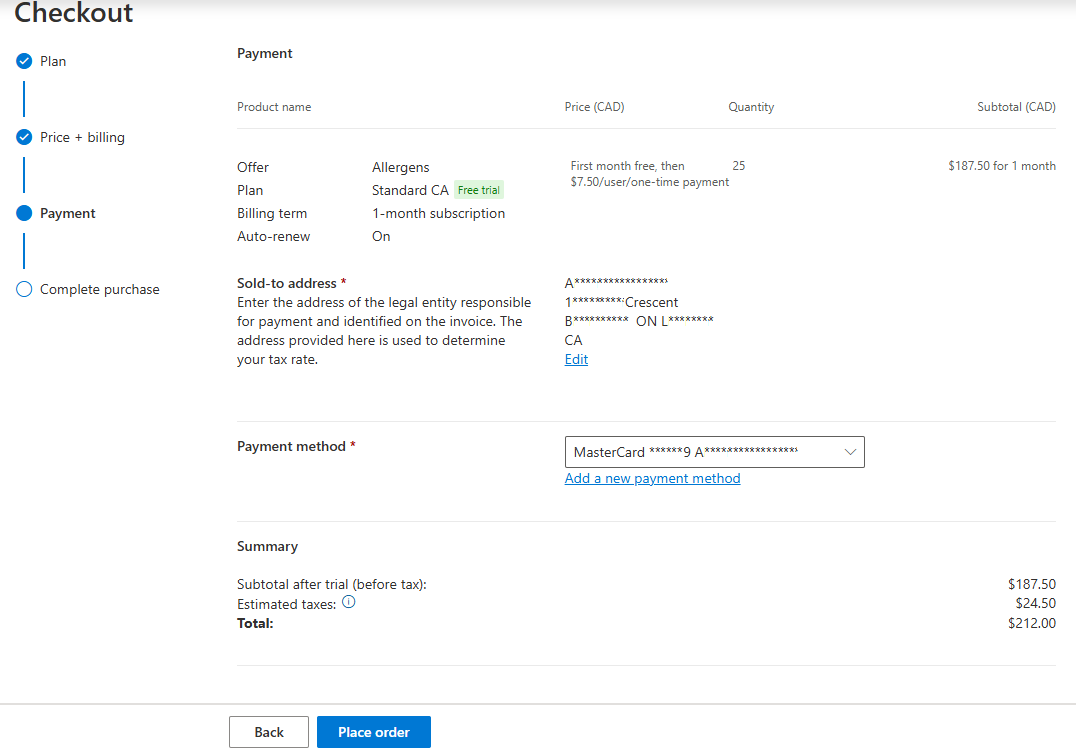
In the Payment section,
-
Enter your sold-to address if it hasn't been provided earlier.
This information may be blocked from changing as it could be tied to the address information that you provide in the billing profile.
-
Select your payment method from the available options.
You can select an existing billing profile if one exists, otherwise you will need to create a new one, which will include entering your credit card information.
-
Select Place Order.
Next, you need to assign the purchased licenses to users from the Admin center.